


1
2
3
4
5
6

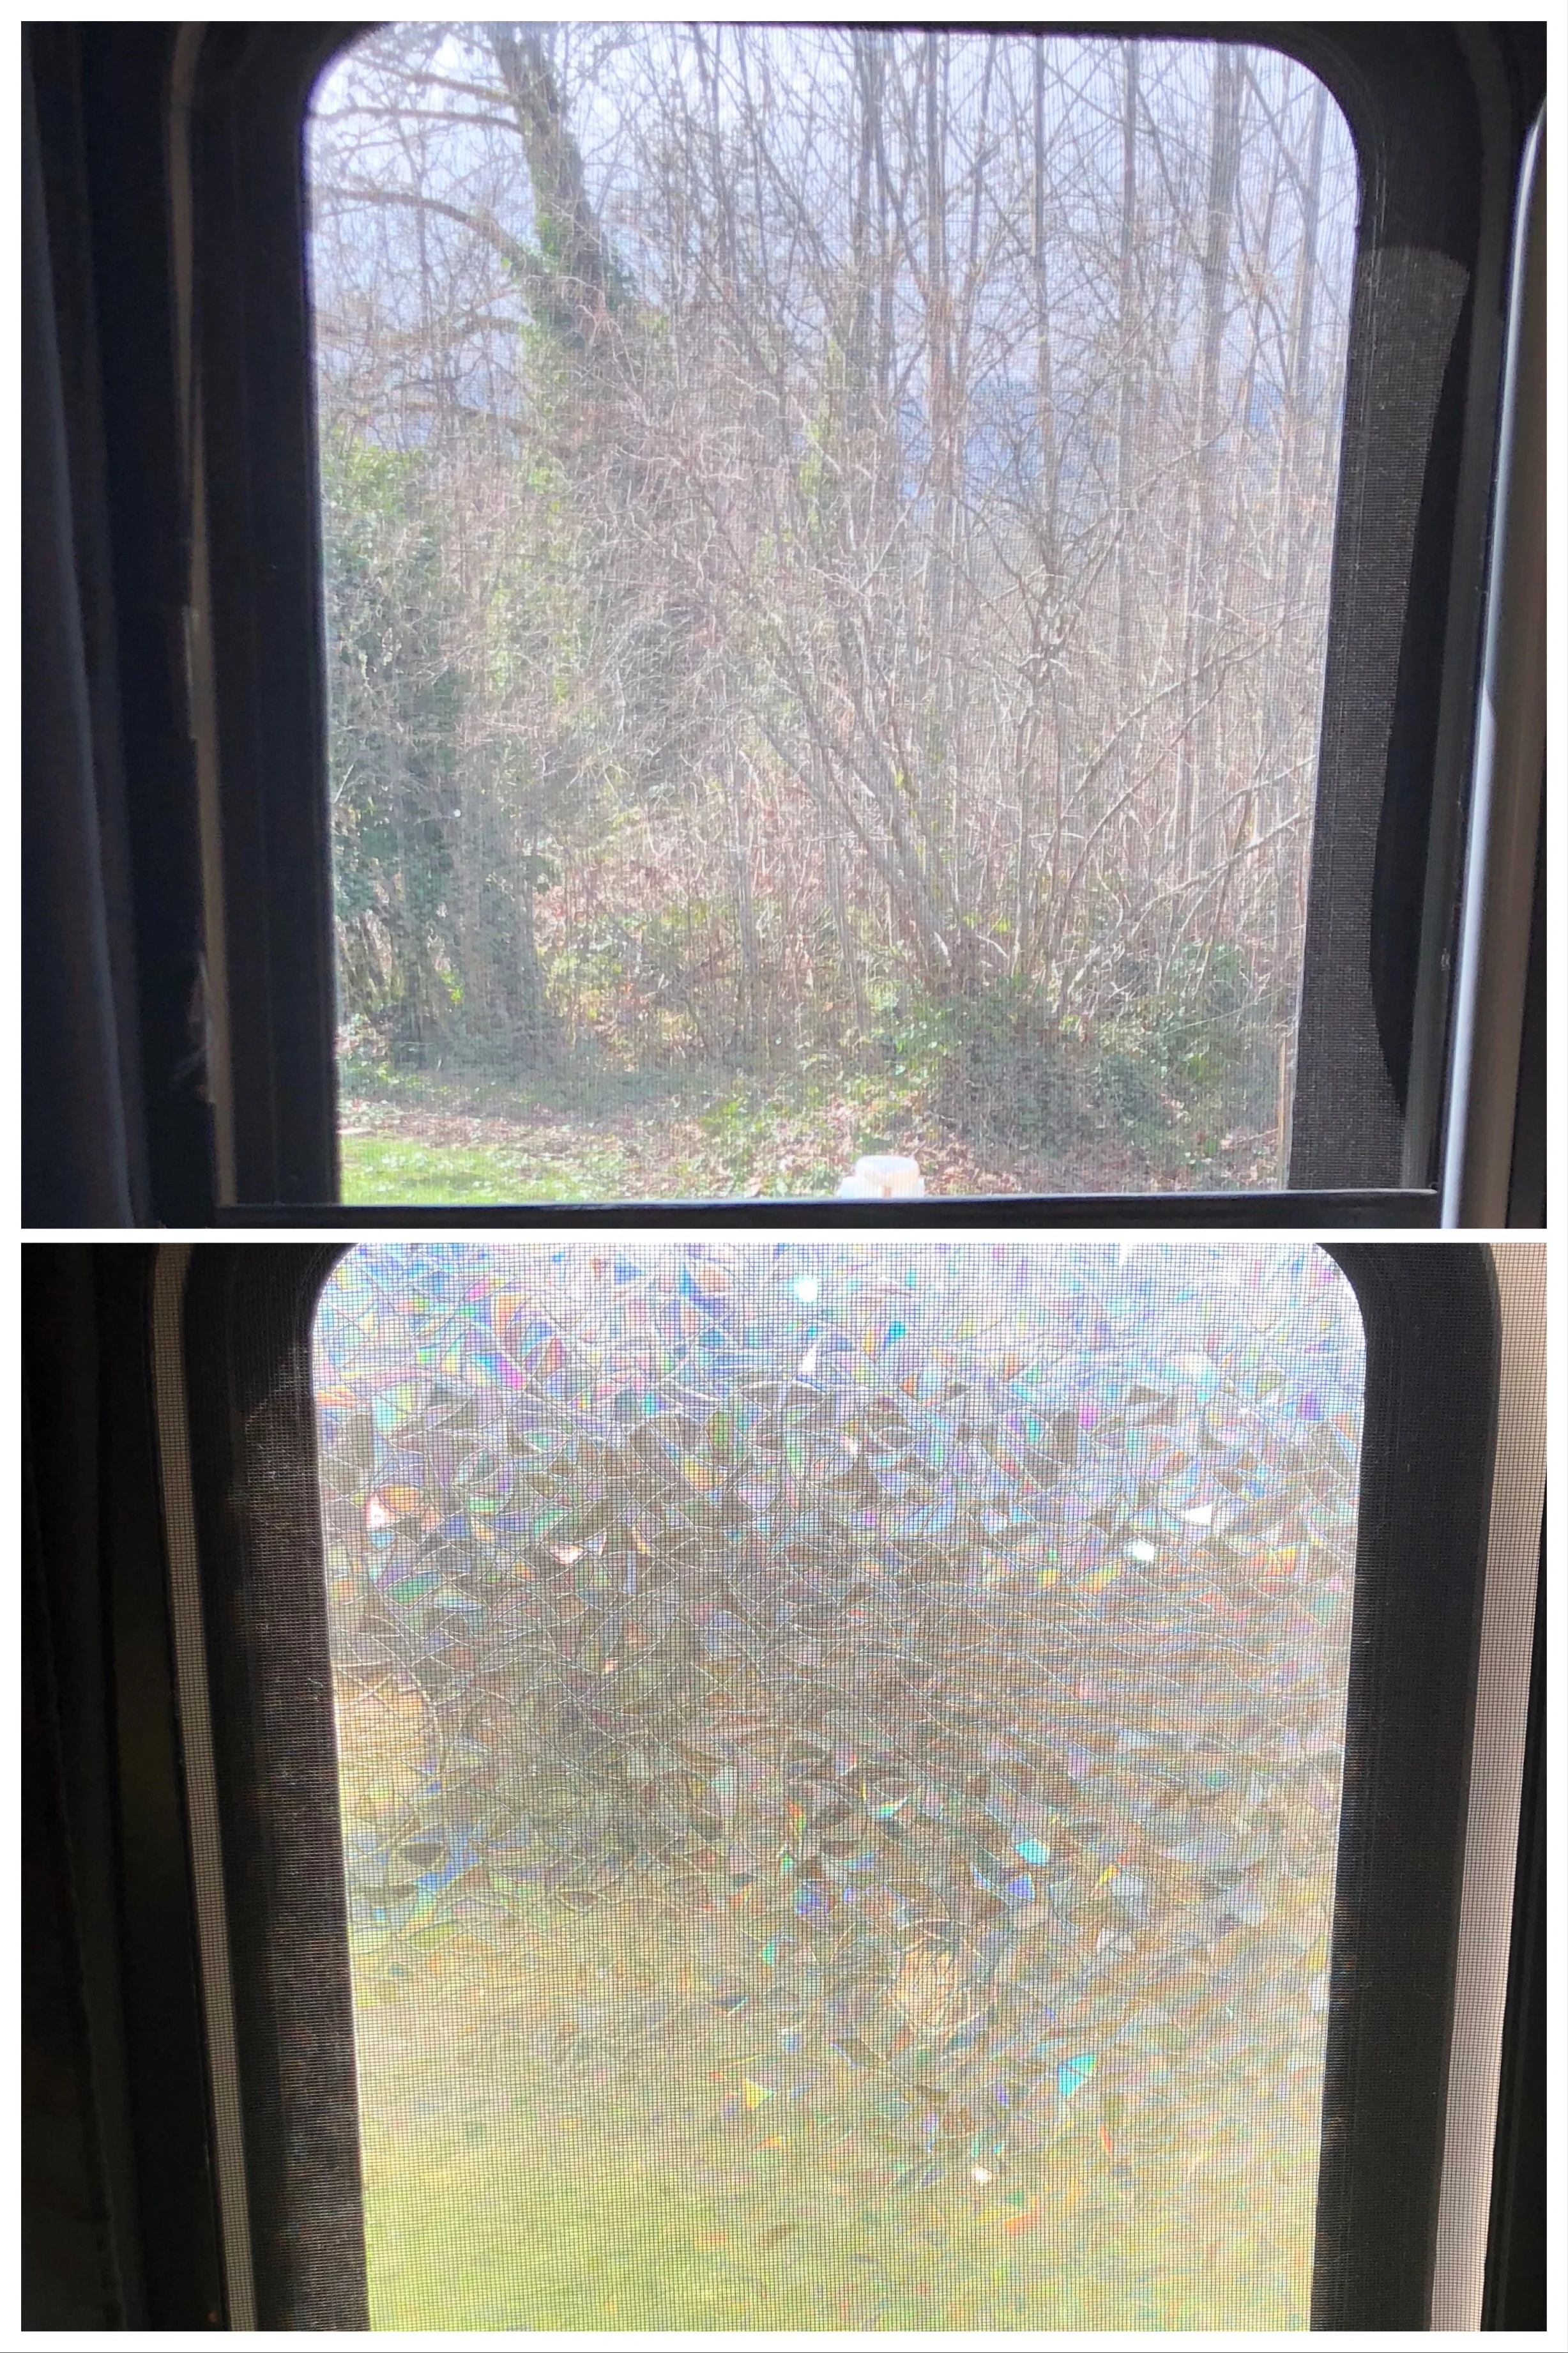
Before and After View
This is a great way to let light in, keep heat out, and add some privacy.
Step 1
Clean the inside of the window with some Windex.
Step 2 & 3
Cut the cling to fit the window and spray some soapy water on the window. Remove the backing of the film.
Step 4
Attach the cling to the window.
Step 5
Smooth out the bubbles.
Step 6
Enjoy the light without the heat!