Painting an RV Interior
If you're reading this, it's likely that you've spent a lot of time researching how to paint the walls and cabinets of your RV. We certainly took our time planning this project. About a year, in fact.
There are so many different types of surfaces, textures, nooks, crannies, etc… in an RV. It's not the typical wood cabinetry or drywall found in homes, so it takes some extra planning. RVs have wall paper that is extremely difficult, if not impossible to remove completely. Some have.. most have… glossy fake wood surfaces that can be tricky to paint.
After all the research and work, we’re really happy with results. It may seem complicated and overwhelming at first (and during), but if we can do it you can definitely do it too!!
Here’s our story of how we painted the RV, what products we used, and the total cost of our project. If you have any questions or comments, send us an email or comment below!
Prep Prep Prep!
Foreword by the authors,
Going into this project, we'd never remodeled a house or done much more than put an Ikea bed together. Well… I (Chelsea) have painted a wall in an apartment. So, I suppose I was our resident expert on all things painting. Loren - does not have any experience what-so-ever, though takes great joy in destroying furniture, has a very little patience, and has an eye for figuring out how things work. Together… we’re a dream team.
As we read others' stories, we realized that prepping every surface is just as important as the painting portion (if not more). Sanding, cleaning, and priming surfaces will allow the paint to adhere. The following steps are time consuming, but totally worth it (as much as I hate to admit it).
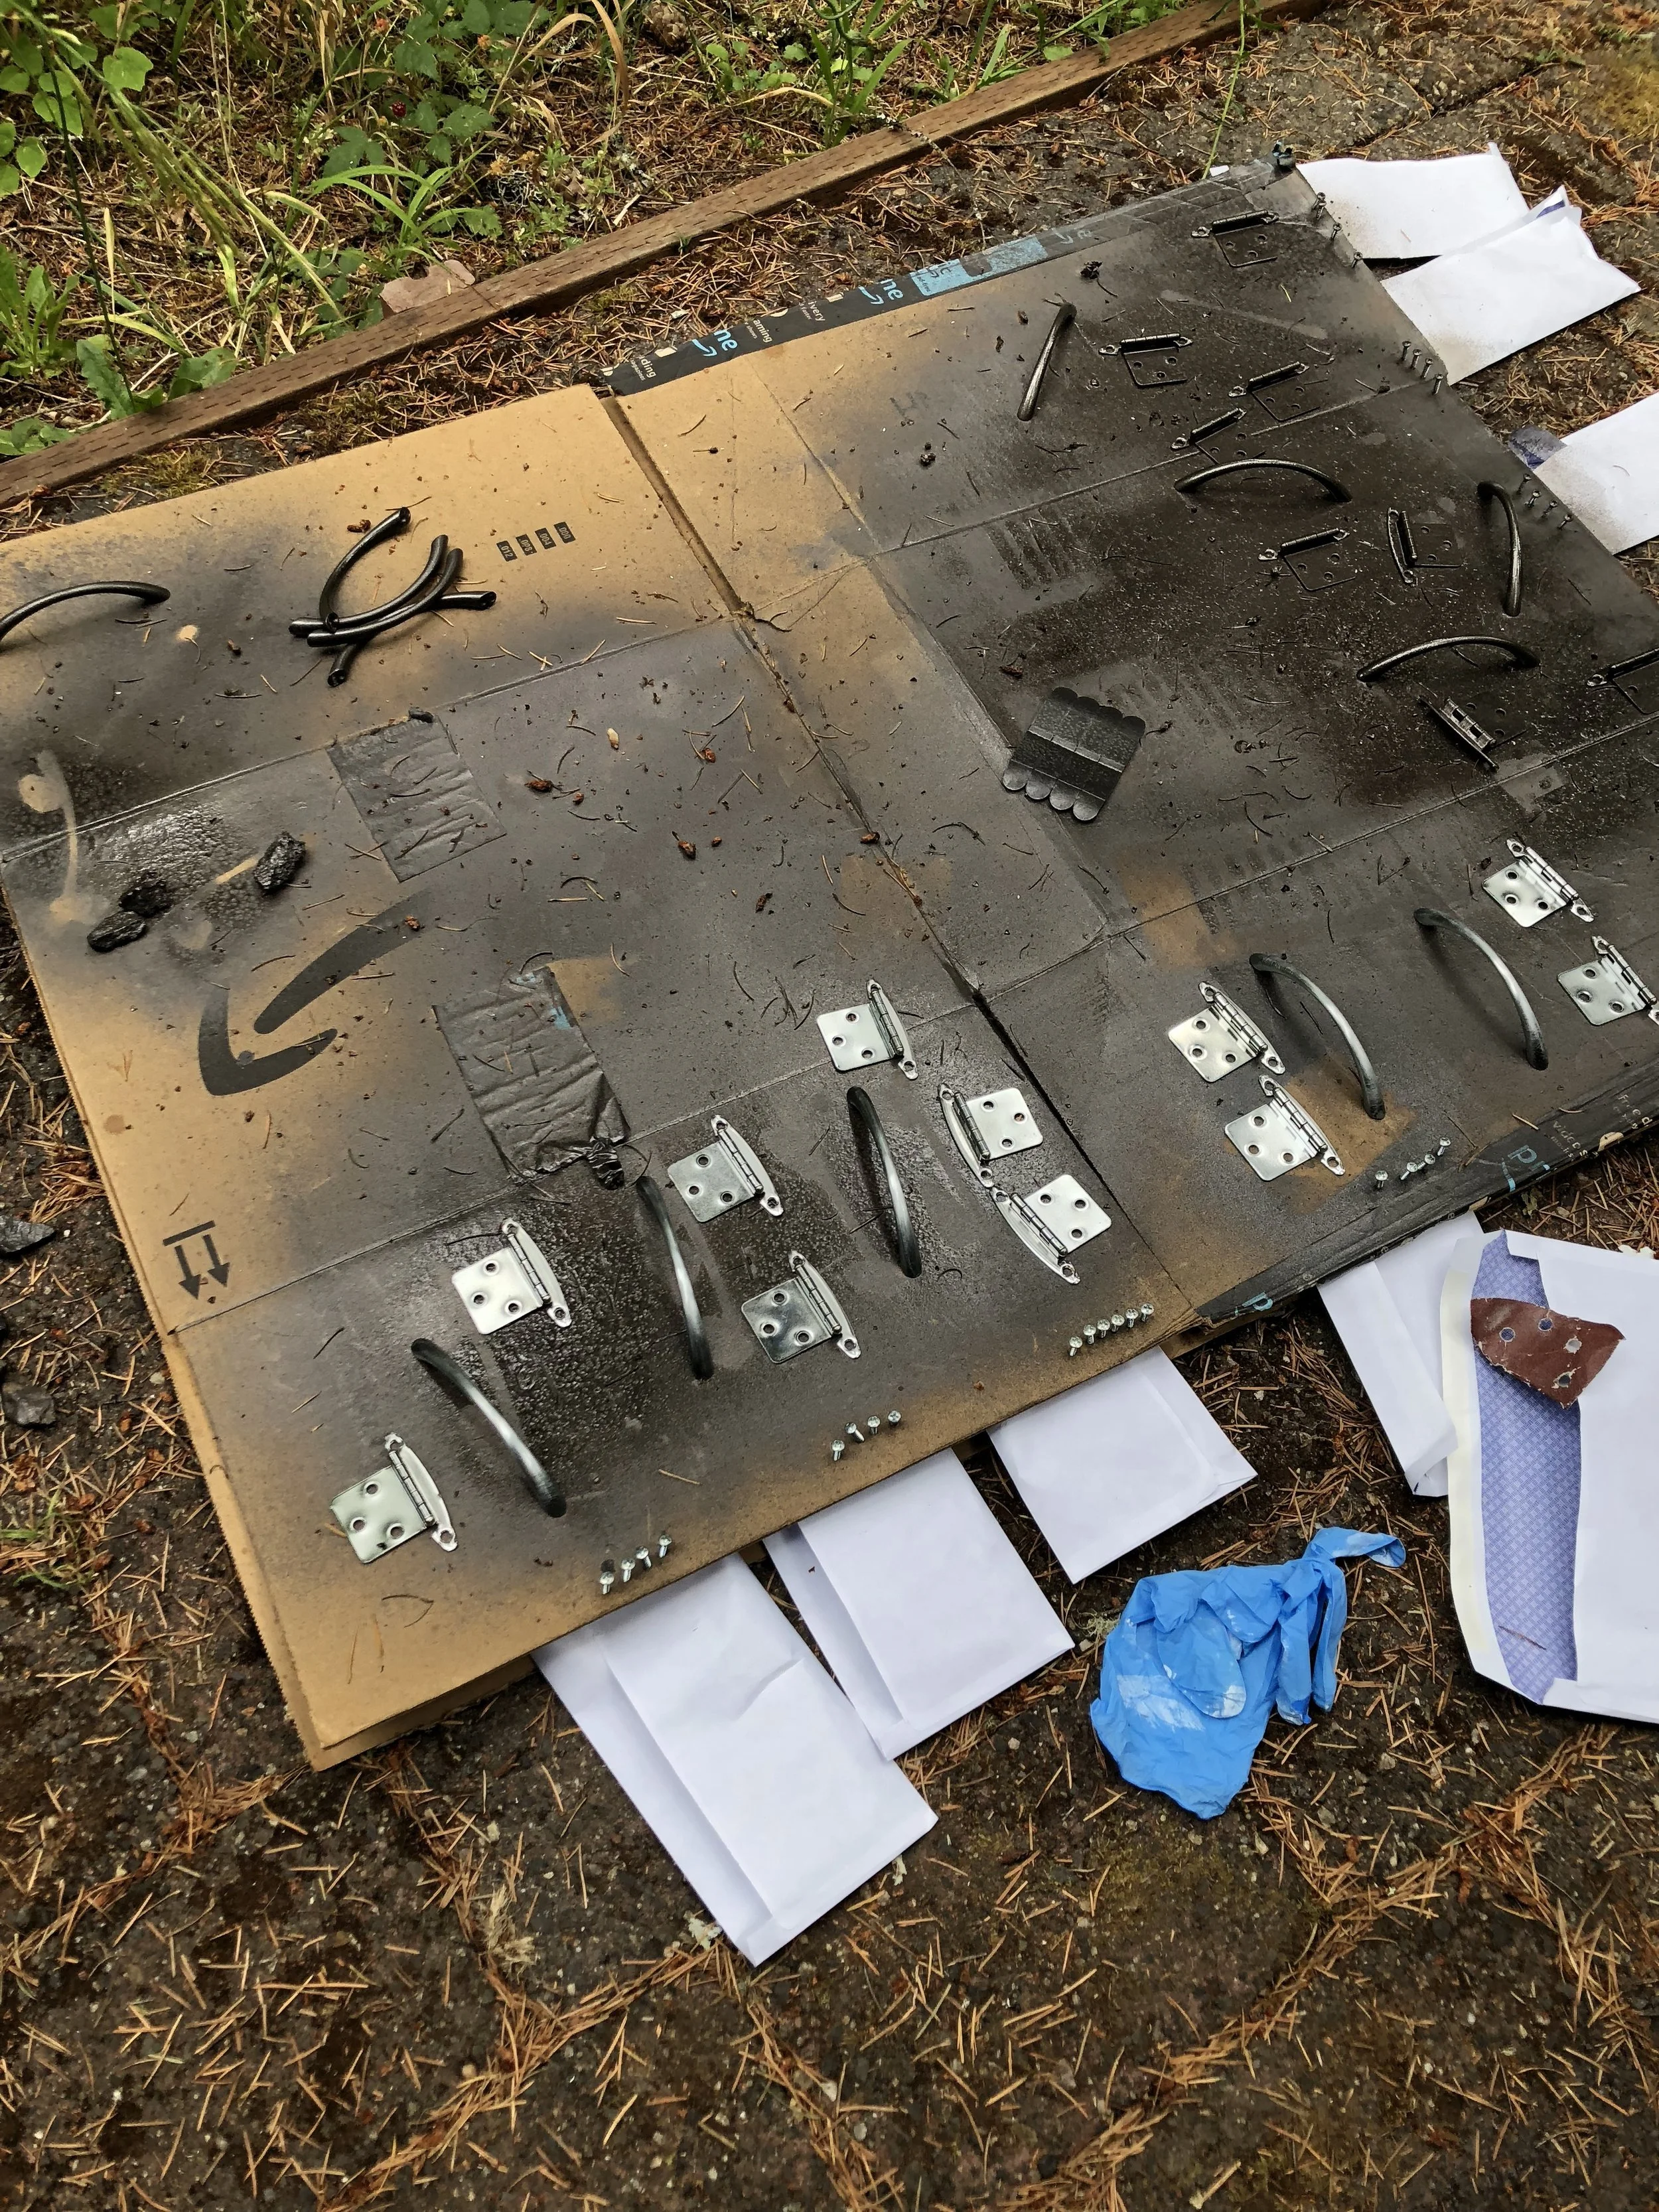
Here, you can see how we spray painted our hardware. The envelopes are labeled with the location for each set of pulls, hinges, screws, etc.
Hardware & Cabinet Doors
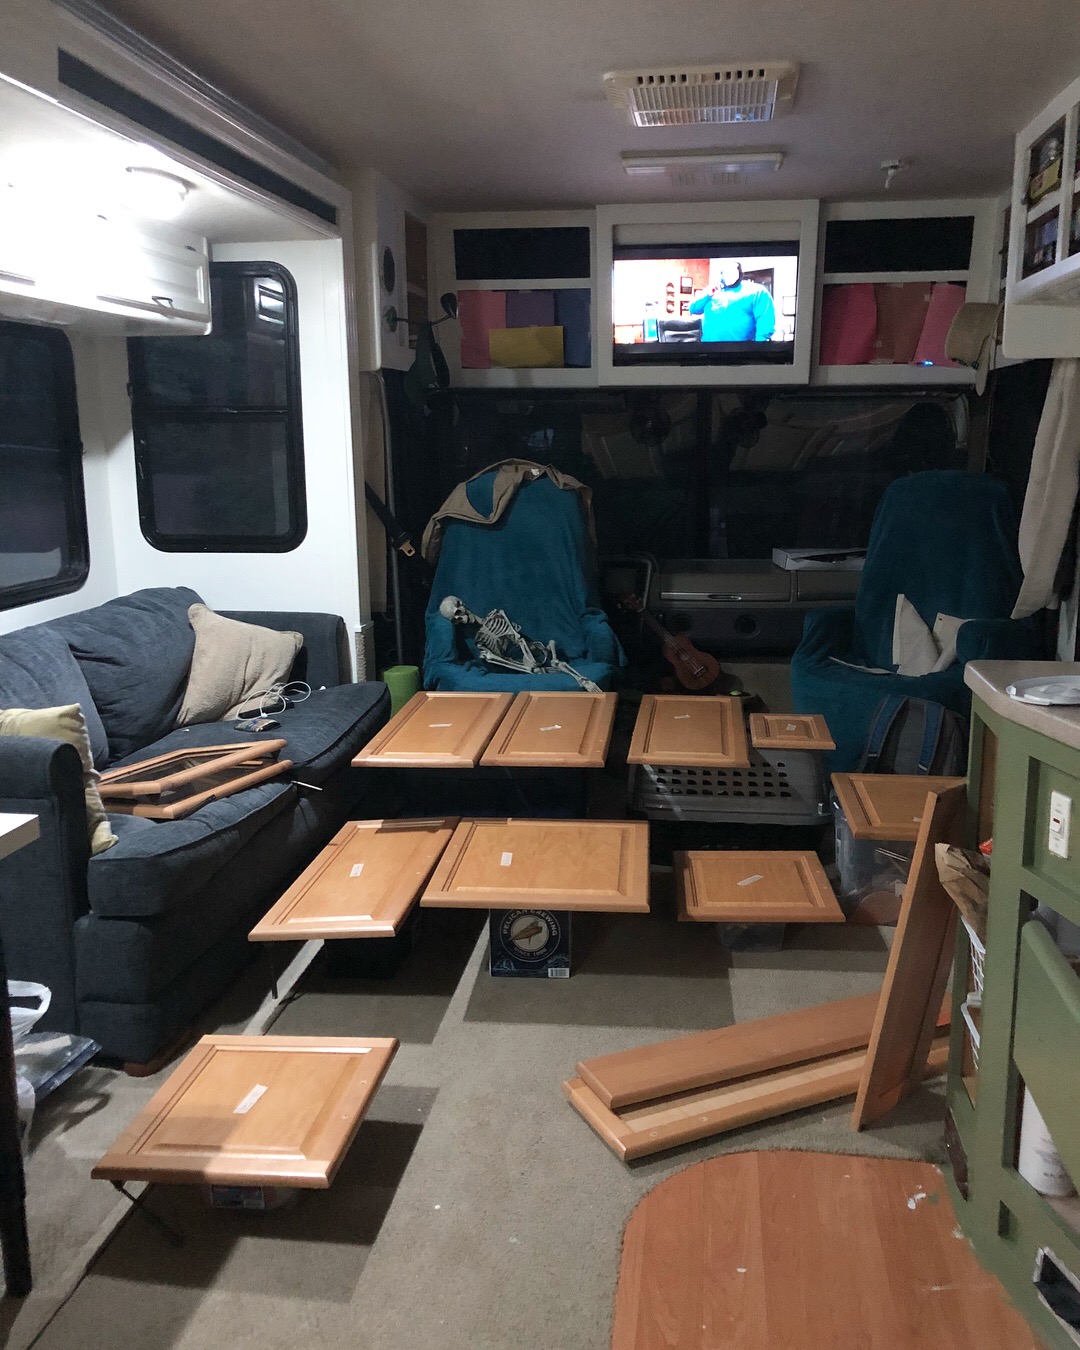
We removed the cabinet doors and hardware. It makes the following steps much easier. It’s very important to to keep the doors and hardware labeled with where they go!!! It might all look the same but it’s not. Going back later to try and match 28 cabinet doors up with the right hardware and location is just unpleasant.
After removing the hardware, we sanded it lightly, then spray painted it with Rust-Oleum Hammered Amber. The envelopes in the picture are labeled with the location for each set of pulls, hinges, screws, etc. After the paint dried (usually overnight), they went back in the envelopes until we were ready to put the cabinet doors back up. The spray paint has worked well so far. It’s not perfect, but the hammered effect covers up some of the imperfections.
*UPDATE: After, and most of the hardware still looks good. The heavier used cabinet and drawer pulls have chipped a bit. We haven’t re-painted or replaced them yet, because they really aren’t that bad. Eventually, we will likely spray paint them again.
We tried leaving the light fixtures and outlets on and simply taping around them. It looked messy, so we ended up unscrewing these and painting under them instead.
We also left our carpet in place while painting, so we didn't have to worry about messing up the floor we were planning to put in. This was not the best idea…when we did pull the carpet up we had to go back and touch up all along the base of the walls, because the carpet is thicker than the vinyl we put in. It would have been better to remove the carpet, then paint, and finally install the new floors. Live and learn! You can read more about our flooring install here.
Sanding
A 120 grit sanding block, like this one, works great on all surfaces! We preferred these sanding blocks with an angled edge for corners. We chose to sand before cleaning the walls, so we could clean the sanding dust as well. Just a light sanding to roughen up the surface will give the primer a better adhesion.
Cleaning
For this step we used a mixture of 1/2 white vinegar and 1/2 water. We wiped it on with a sponge, then allowed it to sit for about 30 minutes before priming. The walls weren't that dirty, so it worked for us. If the walls or cabinets are greasy, there is a product called TSP which is a heavy duty cleaner made for prepping before paint.
Taping
Taping takes forever! We found that the regular old blue stuff worked just as well as the FrogTape people are recommending online. I think this depends on what surface you are taping as well. We taped the ceiling, around windows & doors, etc. The trick with any painter’s tape is to remove it while the paint is tacky and not yet dry. Finding that perfect moment to remove the tape is difficult, so it might take some trial and error.
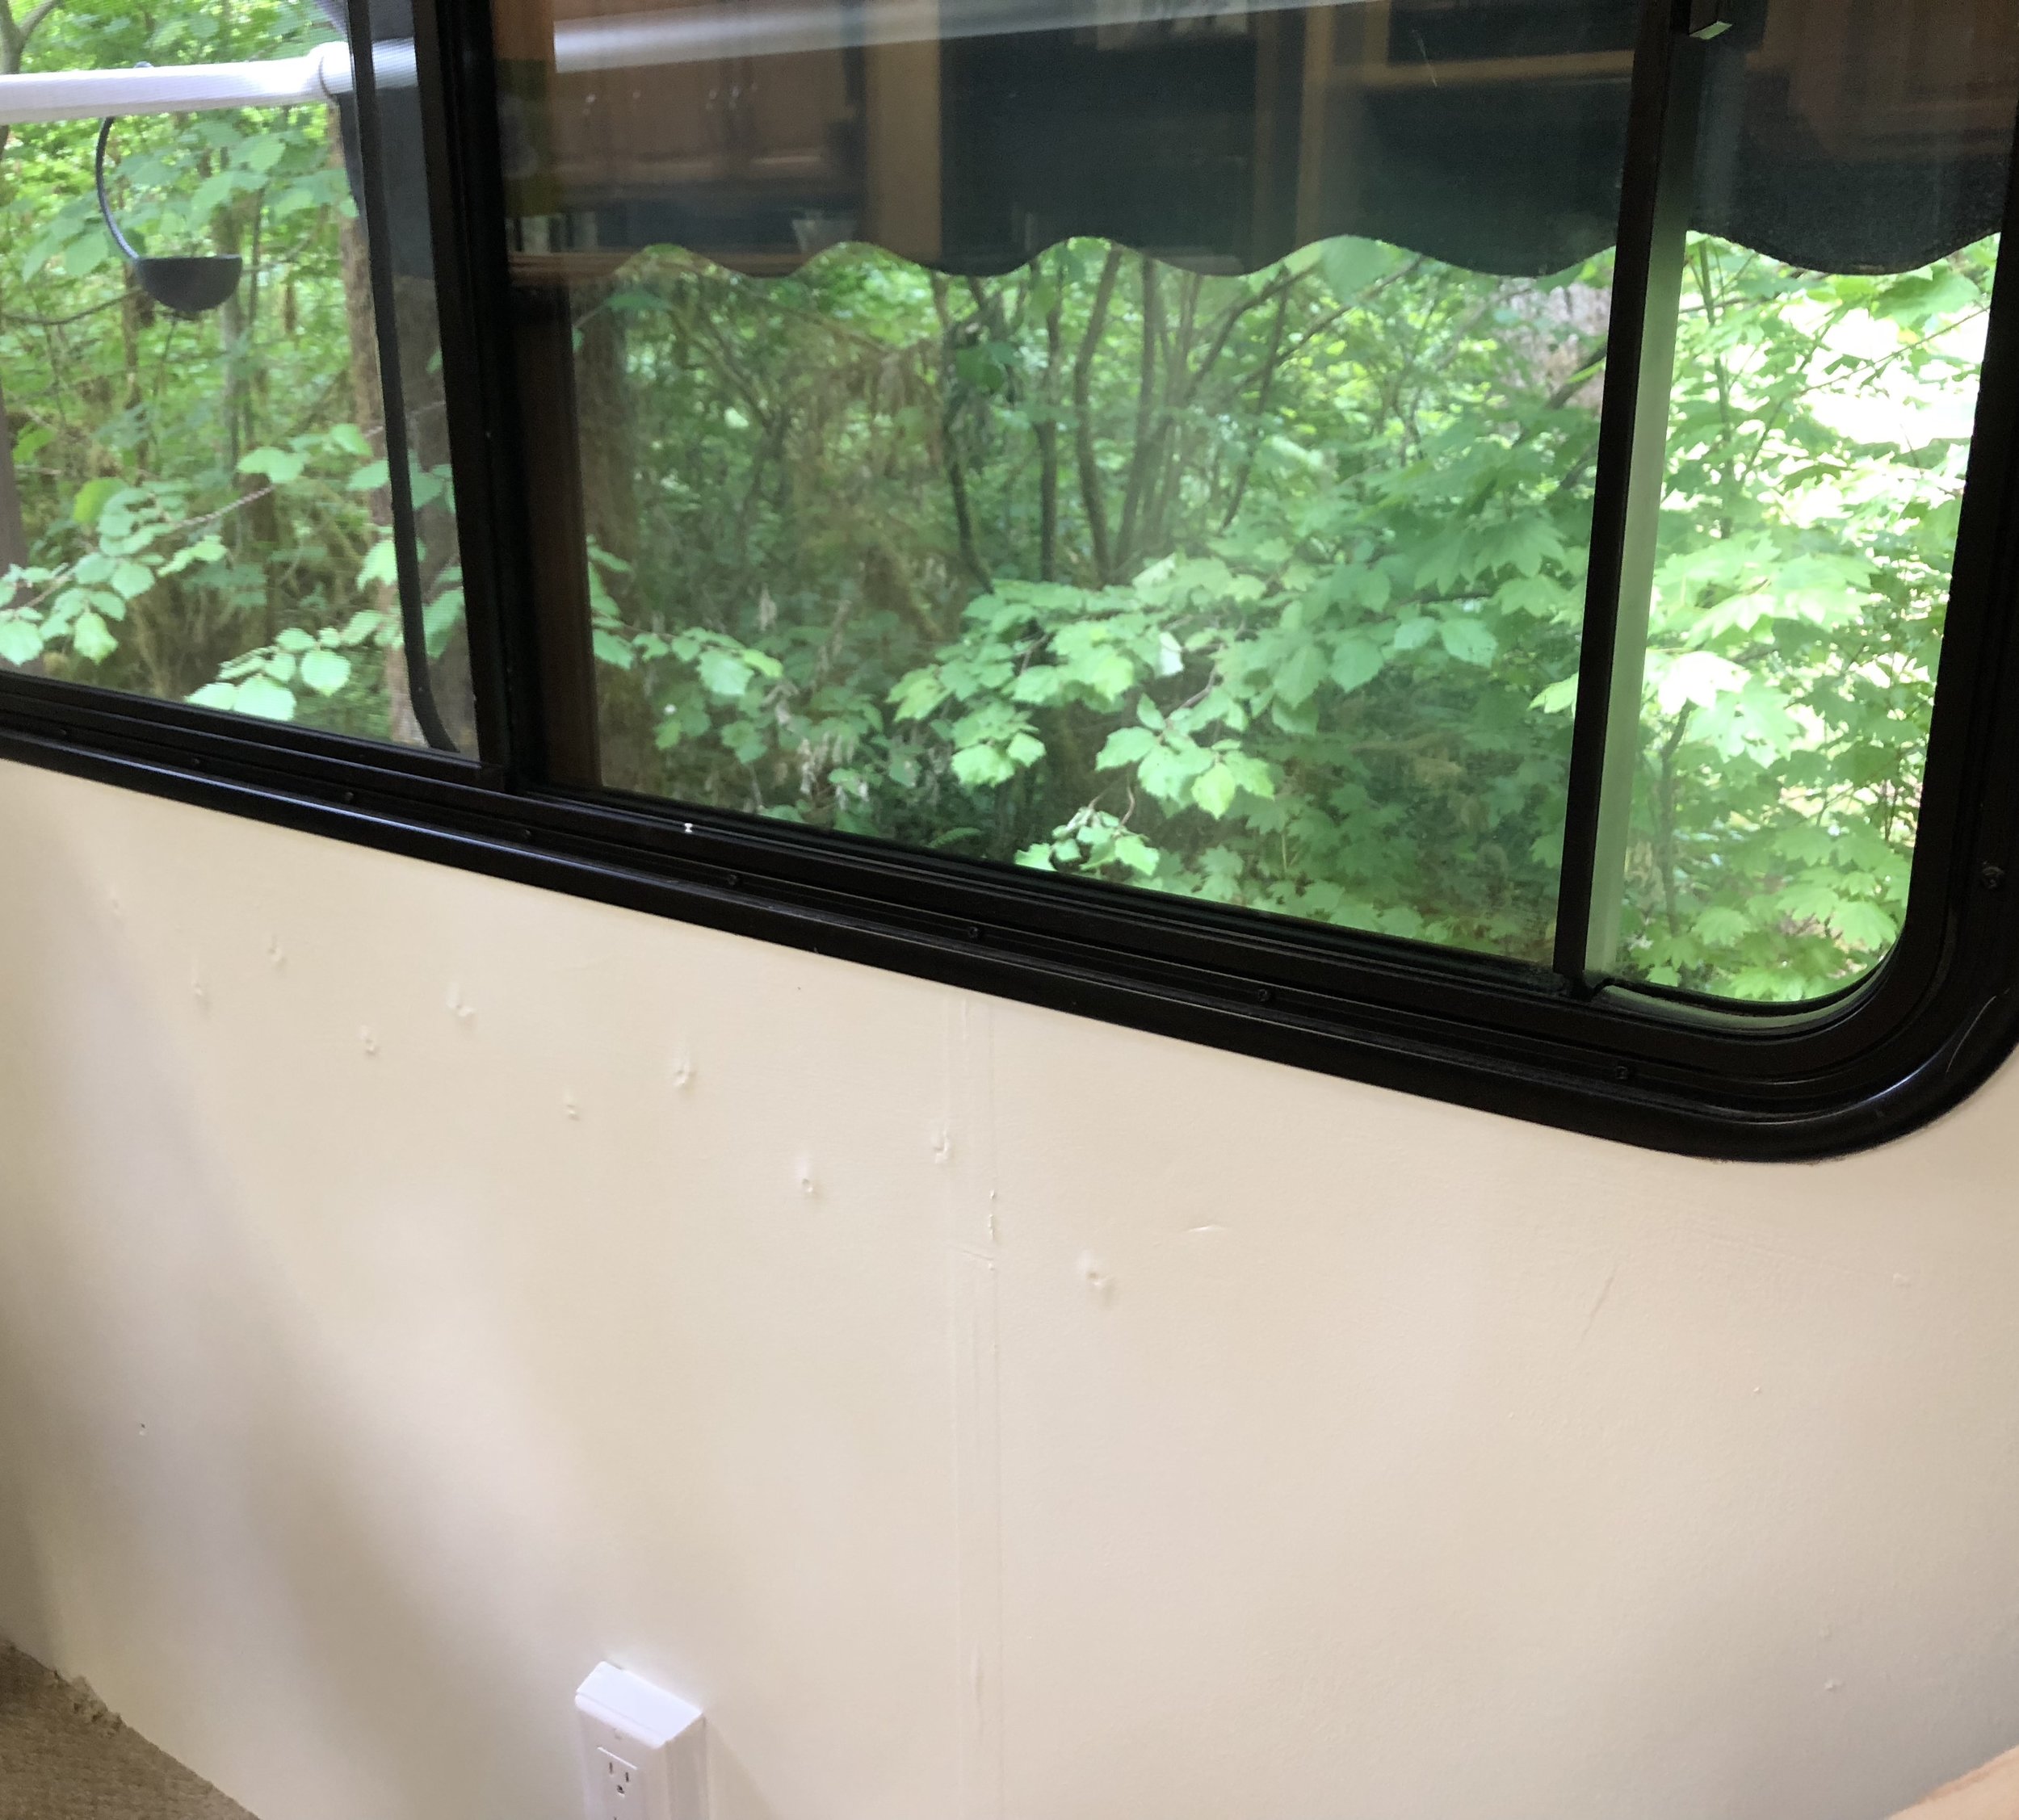
EEEK! We left this to dry for two hours, came back to the paint melting down the wall. This is what we get for painting during a storm in Oregon. We ended up sanding it down, adding two coats of primer, and the two more coats of paint. We also moved the dehumidifier to this room and had fans blowing on it to dry. After all that, it dried just fine.
Priming
The step we really wanted to skip...we’re so glad we didn't! We used one coat of Glidden Gripper Primer on everything. This stuff is like glue and smooths out small imperfections in walls and cabinets.
The only place we needed an extra coat was on our back bedroom wall. We painted this area during the rainy season in Oregon, and that humidity ruined our first attempt. So, after our paint melted down the wall (see picture) we sanded, used two coats of primer, followed by two coats of paint (all with a dehumidifier and fan pointing at it).
This primer only takes an hour to dry before you can move on to the painting. We would have used WAY more paint if we had of tried to skip this step. Gripper is awesome, and we’ve also heard great things about Kilz.
Painting!
Now for the fun part - seeing the plan come to life! The first stroke of paint is super exciting, and we knew immediately we loved the colors we chose.
The Paint
We wanted to find a paint that would work on all surfaces in the RV, have low odor, and dry fast. We found all of those things in Behr Premium Plus Semi-Gloss (no we do not get any $$ for saying that). This acrylic paint is durable and mildew-resistant. They have tons of colors to choose from too! We went with Atrium White for the main color and Ecological Green for the accents. There was very little odor and zero VoCs …which is good I guess. It has a two hour dry time, which is fine cause sometimes you need a break!!
Some of our walls only needed one coat, which was a nice surprise! They say always plan for 2-3 coats. All of the glossy surfaces and cabinets needed two coats, and there were only a few spots that needed a third.
*UPDATE: Over the past 10ish months, this semi-gloss paint has been super easy to clean and durable! We've had a few spots to touch up, but only because we have a puppy that tends to scratch and dirty up the base of the walls. Everything else just wipes right off with either disinfectant wipes or a wet sponge.
Rollers and Brushes
Wooster brushes are great for corners, but they have a small handle. There were a few spots we had to use a longer brush to reach. For those weird spots we used a generic cheap paint brush.
Who knew there were so many rollers to choose from!?! Well I guess lots of people knew that but we didn’t. We ended up getting these 4” x 1/4” nap High Density Foam Rollers from Home Depot for the cabinets and extra smooth surfaces. Looking at it now, we did not need special rollers for the cabinets and smoother surfaces. I actually abandoned those by the time we got to the bathroom and bedroom. The regular 6”x 1/2” nap Woven Rollers work much better overall. They leave some texture, and we found this looks more uniform with fewer roller marks.
Cure Time
The concept of cure time vs. dry time was totally new to us. It takes about 30 days for paint to completely cure, which means it becomes hardened and less likely to be damaged. For this reason, we made sure the RV was going to be stationary for at least 30 days after painting. We also couldn’t put our curtains or artwork back up until then too. I’m happy to report, after moving the RV twice we haven’t found any splits or chips in our paint (that weren’t already there). We still have some touching up to do, but it looks great!
Supplies & Cost
The overall cost for this project was about $280. I wish I could be more exact, but after making numerous trips to Home Depot and Wal Mart for tape and brushes we lost track. It took us four weekends to complete the main area (living room & kitchen. The bedroom and bathroom took another two weekends. Below is our list of supplies. We purchased most of these items at Home Depot, some at Wal-Mart, and only a couple things through Amazon.
2 gallons Glidden Gripper Primer $50
3 gallons Behr Premium Plus Semi-Gloss in Atrium White $90
1 gallon Behr Premium Plus Semi-Gloss in Ecological $30
Tape $20
2 Sanding Blocks $10
3 cans Rust Oleum Spray Paint for Hardware in Hammered Amber $24
*Update
We’ve gotten some good questions about painting our RV lately (THANK YOU!), so I wanted to give an update and clarify a couple things. It’s been almost a year now, and the paint is still holding up very well! It’s really easy to clean- we usually use a wet sponge or kitchen wipes. Once this stuff cures, it’s very strong! We’ve had a few scratches (from our pup and cats mostly) but those are easily touched up.
A Bit About Cabinets: There are parts of the cabinets you can skip when painting (we think).
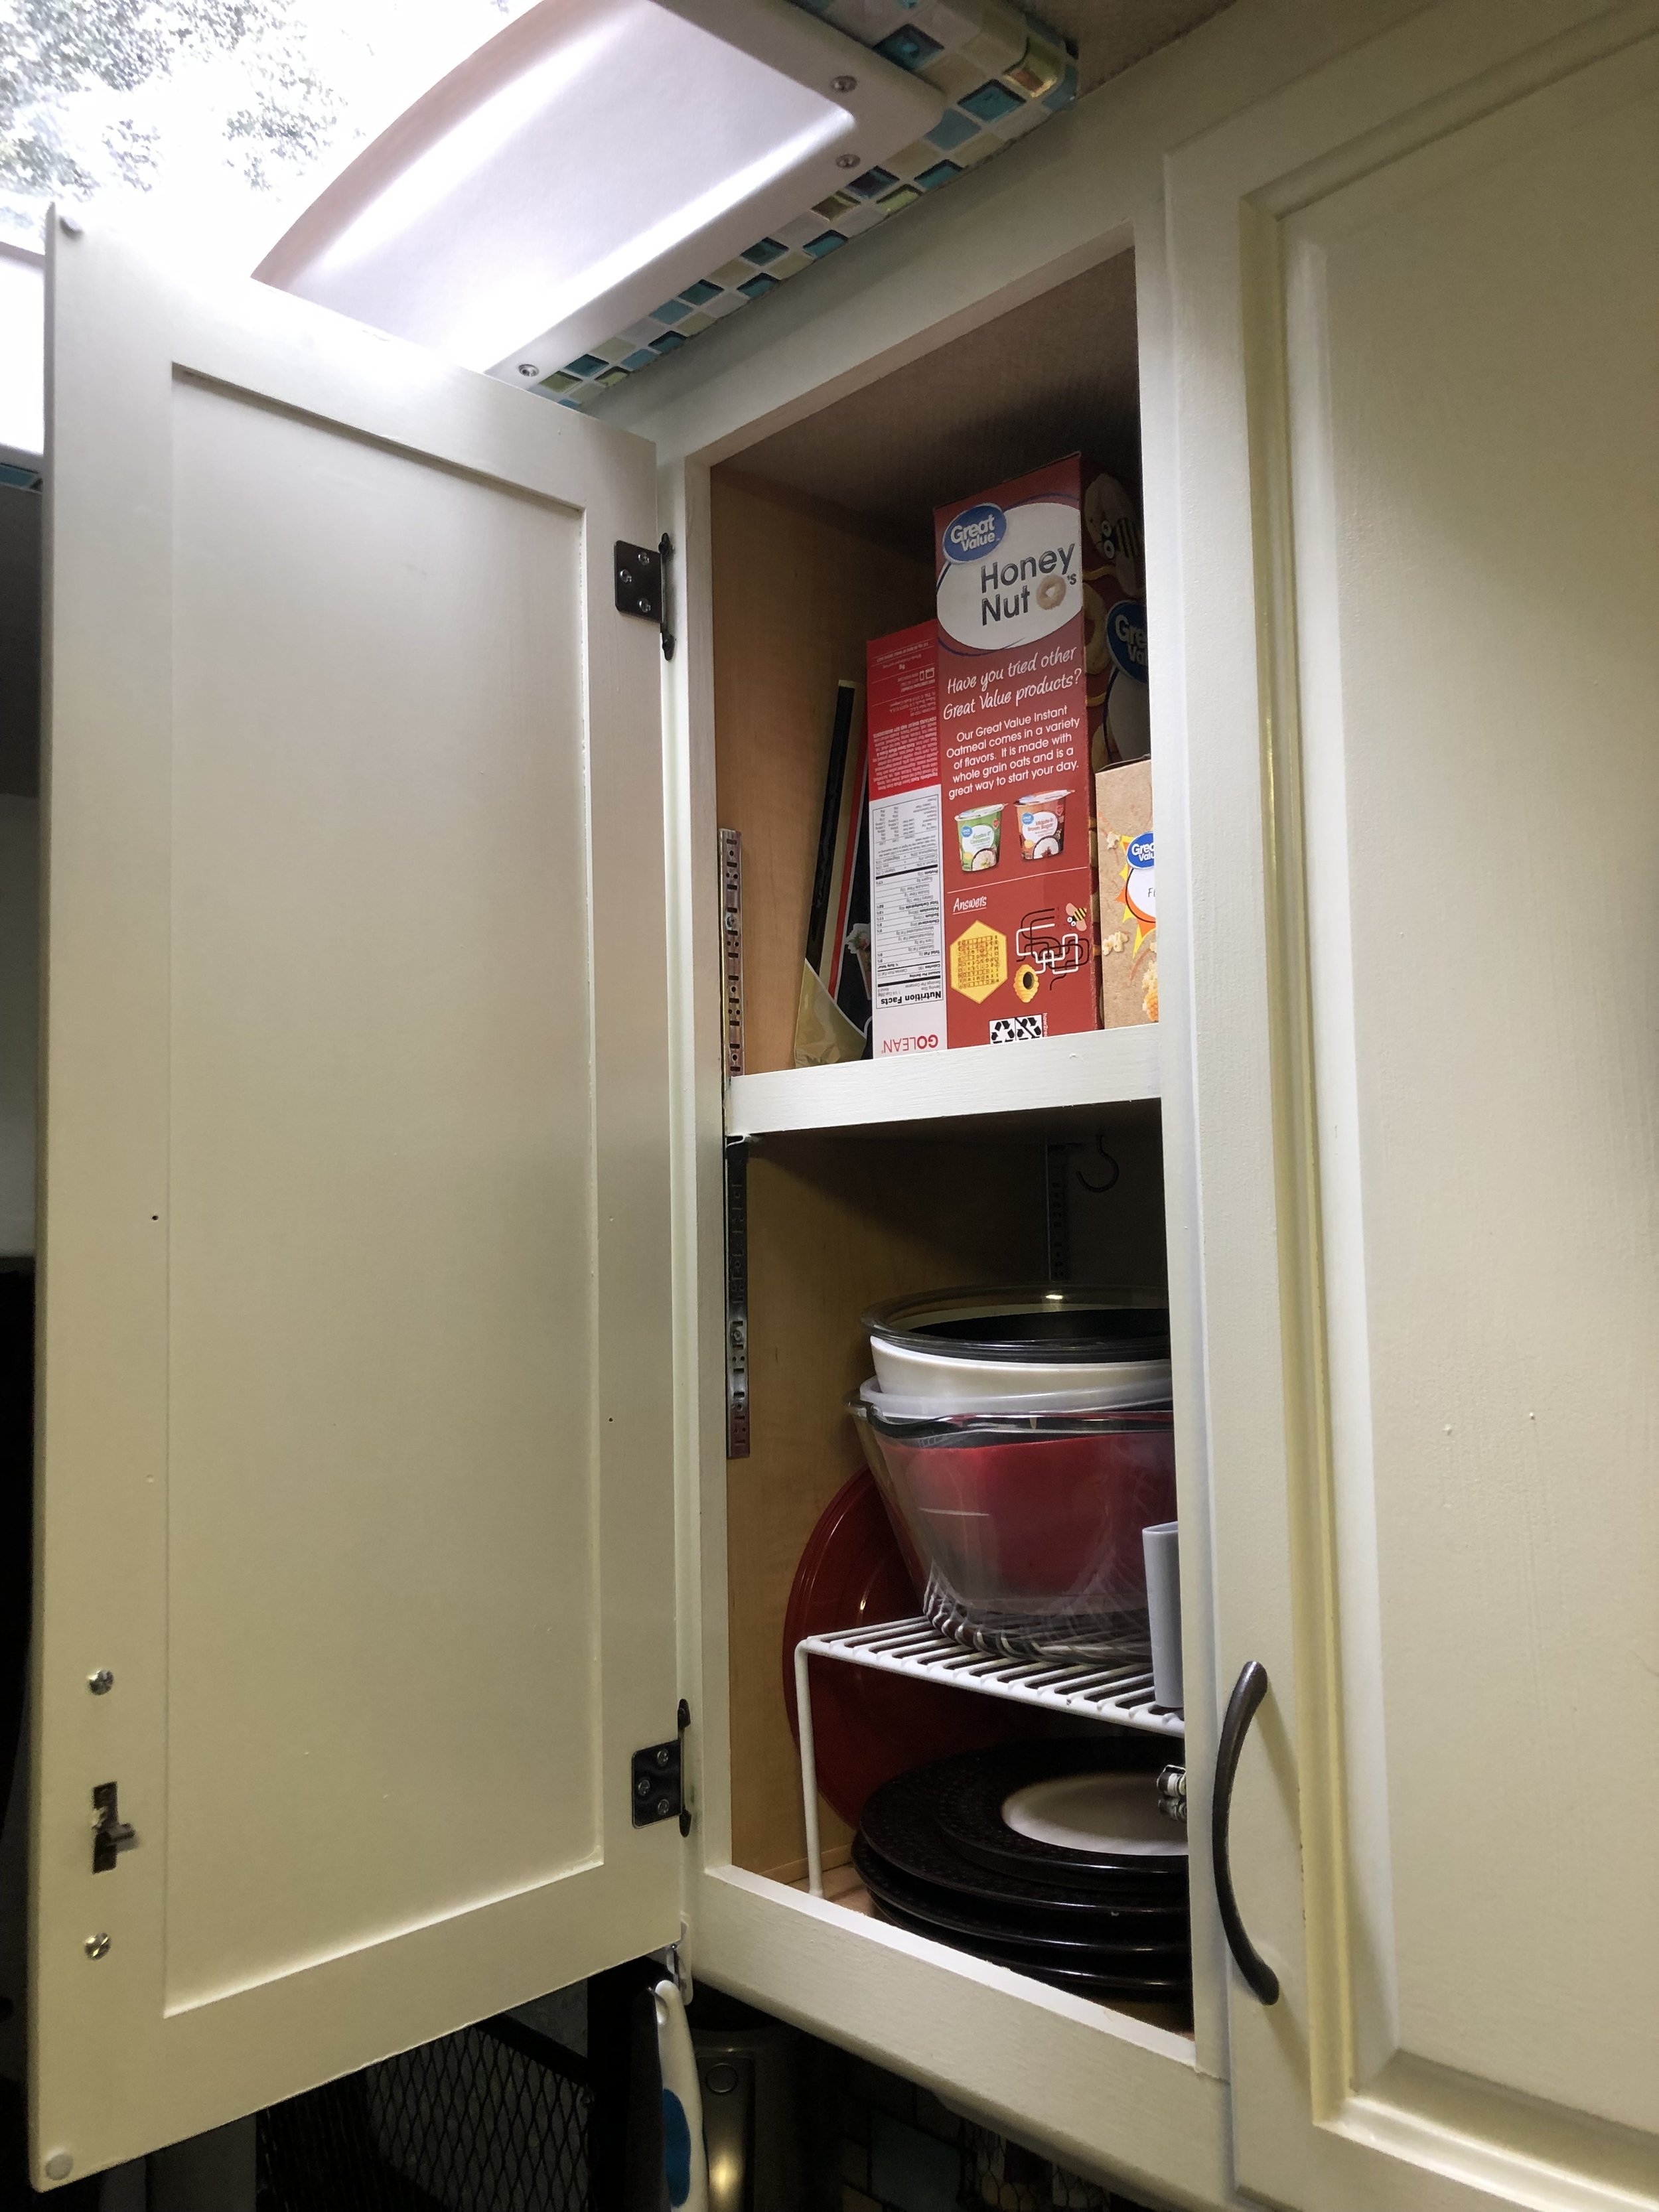
We painted the inside of the cabinet doors, but we did think about skipping that step. There were a few large closet doors (see photos below) we didn’t paint the inside of because it would have used a ton of paint. It looks a little messy inside, but we’re the only ones that see it. Someday I’ll get around to sanding the messy parts away…
The interior of the cabinets was not worth painting for us. Not only would this have taken a lot of paint, it would have also taken forever to dry. We ended up liking the way the “wood” looks inside the cabinets anyway.
We also left the front of the drawers on when painting, which we think looks fine unless they’re open all the way and you stand on your head to see the unpainted areas.

