RV Flooring: Goodbye Carpet and Hello Vinyl
Even after researching the hell out of how others remodeled their RVs, one cannot fathom how difficult an RV remodel is… unless experienced first-hand. If you are a fan of puzzles, playing twister, and alcohol, then redoing an RV’s floor is FOR YOU! The point is, as much as we thought we were prepared for this experience, we ran into issues that seemed impossible to overcome. All RVs are not made equal and it’s difficult to really know what you’re going to find under the carpet until you rip it up and look.
I should also add that we aren’t very handy, careful, or patient. We didn’t have the proper tools for everything, or anything really. We also pretty much refuse help from others. That being said, we’re a couple of determined gals that won’t admit defeat. We did things our own weird way and it feels great to look at what we accomplished together!
Removing the Old Floor
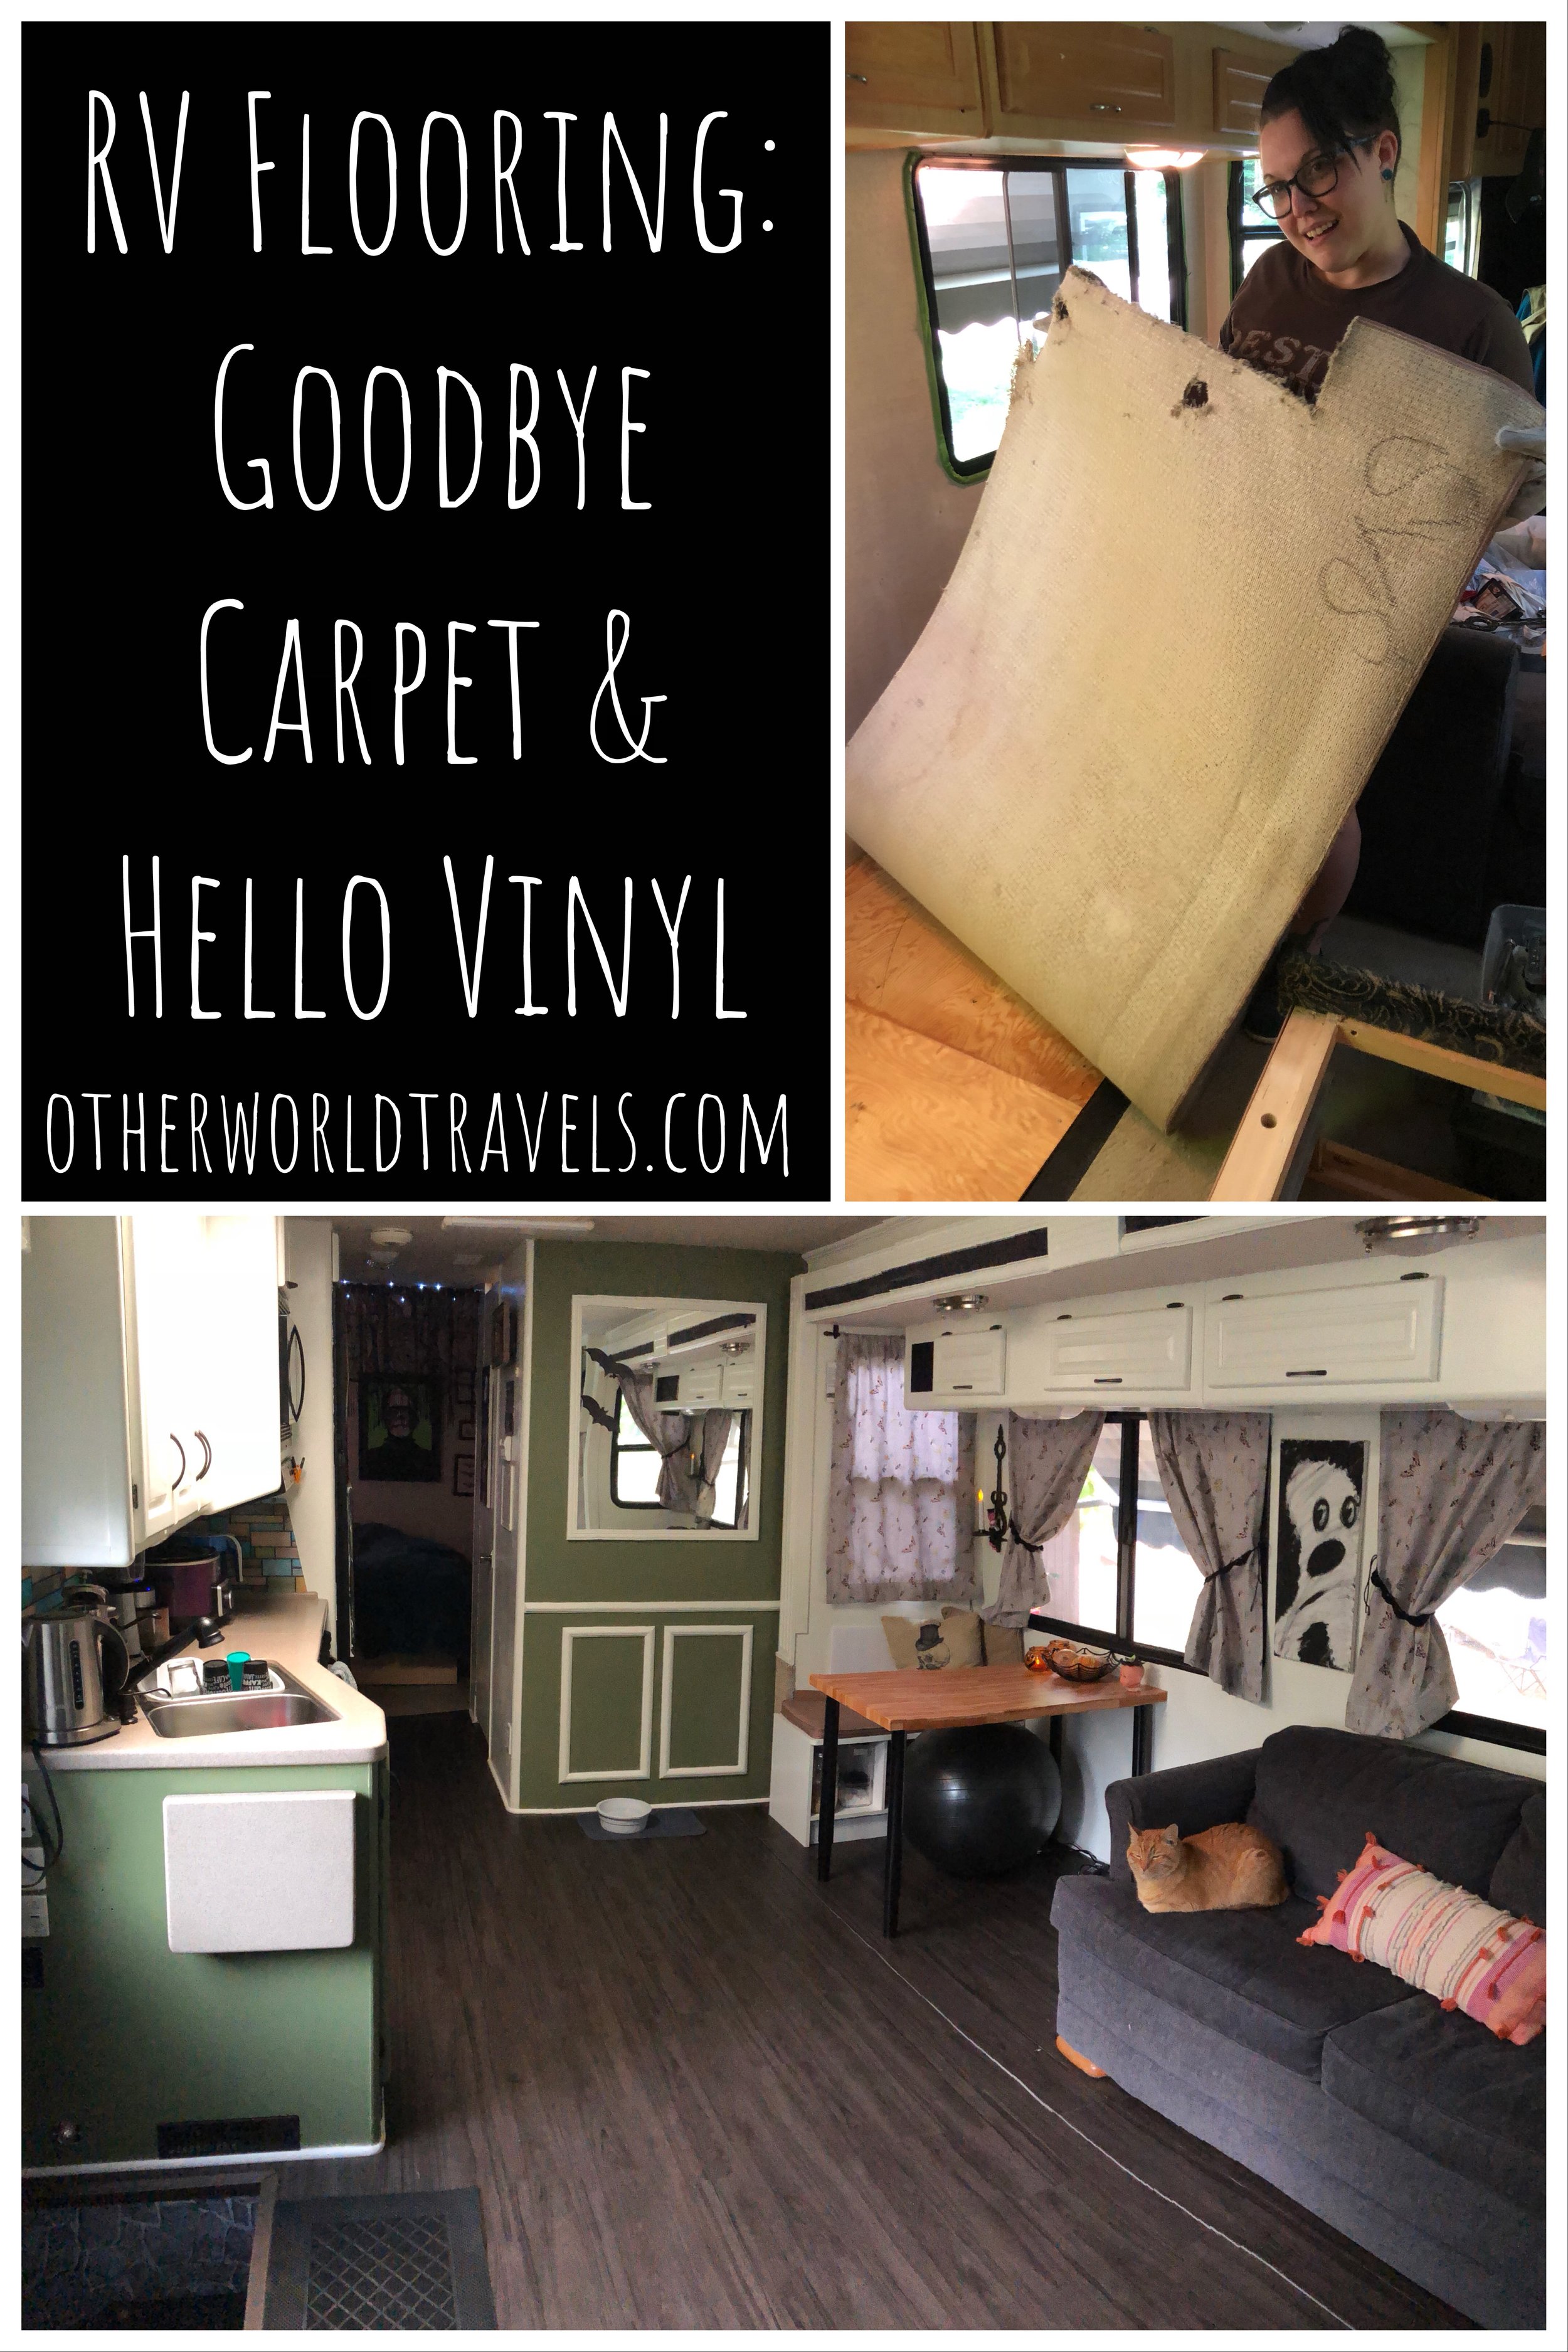
From what we’ve read and heard, ripping up the carpet is the worst part of redoing RV floors. Not for us! Most of the carpet came right up and the staples were pretty satisfying to remove (are we crazy?!?!). We started at one corner and pulled, cut it into strips, and rolled it out the door. The most difficult section of carpet was located under our main slide. The carpet was wrapped around the base of the slide, so we had to get behind our basement to loosen it from the outside, then rip it up from inside. This was a long tough process, which caused one storm out and one or more beer runs.
When we got to the kitchen plank-type flooring, we realized the planks were attached to a piece of plywood that was stapled to the floor. Since we like removing staples, this was a really exciting moment. Our fear was that they had glued the floor down, and we wouldn’t be able to get it up without damaging the subfloor.
Unfortunately, we celebrated a bit too soon. It was only stapled BUT it was laid about 4 inches under the cabinetry.
Initially, we thought we’d pry it up and slide it out, but that didn’t work. This meant a complete demolition, because we weren’t about to remove the cabinets. We must have used every tool we own and a few we borrowed to break this floor down piece by piece. It took days to pry up, carve, and sand down but we did it!
Choices…
Choosing the right flooring was a pretty difficult task and we eventually resorted to asking our trusty RV community for advice. They of course came through (thanks y’all!). We were going to use peel and stick because it’s inexpensive and super lightweight. However, it can shrink over time creating gaps between planks. More importantly, once we ripped up the carpet we found we had big bolts in the floor that would have looked ridiculous under thin peel and stick.
One of the bolts that sticks up through the subfoor
Eventually, we settled on Allure Vinyl Planks in Iron Wood. These are pretty good… not perfect. These planks create a flexible floating floor that’s water and scratch resistant. We’ve found it to be water-proof, even with a sloppy water drinking puppy. Because it’s a floating floor, we were able to use an underlayment to hide the imperfections of the flooring. We chose TrafficMaster Polyethylene Foam Underlayment or “poly” (as we, cool people refer to it) which adds cushion, insulation, and a waterproof barrier.
The planks attach to each other and then just lay on the subfloor/underlayment. This is a nice feature for an RV, because even though they’ll move slightly and possibly expand it shouldn’t create gaps over time. It’s also flexible which helps to decrease the visibility of imperfections in the subfloor. Lastly, you only need a razor blade to score and break the planks.
Underlayment
We laid the “poly” and used painter’s tape to keep it in place. It was very easy to lay (that’s what she said) - and it had an adhesive side that sticks to itself (that’s also what she said??). It didn’t perfectly even out the subfloor, but we’re glad we used it. It’s surprising how much softer it is!
Laying the Floor
Now for the fun part? Yeah… it started out super fun, but then became a headache. The most fun was being able to see it all come together! We started with the slide, because it’s covered with furniture which allows for more mistakes. We hadn’t made the decision to use “poly” at this point, so our slide is just the Allure Planks. There are a few different types of slides, but ours is made to be flush with the living area when extended. It has a metal ramp type thing that sits on the floor that we were planning to leave exposed.
After finishing the slide, we began laying the planks at the back driver’s side corner of the living room (under the mirror for those following along in pictures). It’s pretty tricky trying to follow the instructions on the box, because you’re not doing this in a square room. First, the instructions and reviews say that your row shouldn’t end with a plank that’s less than 6”. This may mean you have to adjust the first plank you lay. The real tricky part is making sure you won’t end up with a narrow plank at the other end of the room. We had multiple points where the rows would end up on the other side - the kitchen, the stairs, and the other wall. So, we just hoped for the best on that end and it worked out OK.
Once you get started, it’s pretty easy. We used the “random” pattern to avoid an H pattern, just stepped on, and pressed them together (a roller is recommended). The difficult spots will need a stencil, which I cut out of construction paper, then used the razor to cut the pattern into the planks. Sometimes, we had to use a vice to get the perfect cut after scoring. It helped to break small pieces off.
As stated before, our plan was to leave the metal slide transition strip exposed so the planks would need to be placed under the slide. When installing these, the slide was slightly raised. Once we extended the slide, our mistake was revealed. The planks weren’t placed far enough under. Our solution was to add one more plank to the slide, so it lays over (where the carpet used to lay).
It turns out it was a good thing we messed up there, because when we pulled the slide in for the first time the entire floor buckled (months later!). It was laid down too close to the slide mechanism and it was pulling it all up. After a few tears and bruises, we lifted the overlapped plank row and cut it down so the slide could come in without catching the floor. That was not a fun moving day!
Adding the Trim
For the moulding, we used Quarter Round Vinyl from Home Depot. This stuff was inexpensive and bendable! We didn’t want anything that had to be cut with a saw (because we don't have one!), so this was perfect. All that’s needed to cut this stuff is a good pair of tin snippers and somewhat low expectations. *UPDATE: it would have turned out much better with a miter saw, which we now own and only costs $15. Live and learn…
We wanted to glue the trim down, but it didn't have a strong enough hold (not even the Loctite instant hold). Eventually, I gave up and hammered nails into it and painted over them to blend (I didn’t have finishing nails).
To transition from the vinyl to carpet, we opted for the matching T-Mouldings by Zamma.
The Cost
It all came out to about $400 at Home Depot. We used 7 boxes of the Allure Planks (we have almost a full box leftover), 1 Polyethylene Foam Underlayment, 3 Zamma Iron Wood T-Mouldings, and 3 Quarter Round Mouldings for the trim. We only used tools we had: a vice, razor blades, dremel, crowbar, hammer, nails, and borrowed tools that we don’t know the names of - some crow bar type of thing.
The Final Result
We’ve had the new floor for over two months now and we still love it! The slide scraped a couple places, but not enough for us to need to do any replacements or repairs. When we had to lift up the slide floor, it broke one of our planks. That one we will need to replace soon. Luckily, we have an extra box of planks for that. It’s so much better than carpet (smells and looks)!
Update!
Nailing the fist row down to prevent it moving with slide
After a few months we ran into some troubles with our flooring.
First off, since our slide comes in and then up when it was retracted it scooped the floor up and almost broke it. We had to remove a good bit of the floor under the slide and nail down the first row of planks, so the slide couldn’t lift it up.
The next issue was the first row of planks on the slide broke in half. This is due to the unevenness of the floor underneath the planks. Because the Allure planks are flexible, walking on top of them with an uneven surface below will eventually lead to this kind of problem. These planks are really not meant for RVs, but that’s never stopped us before!
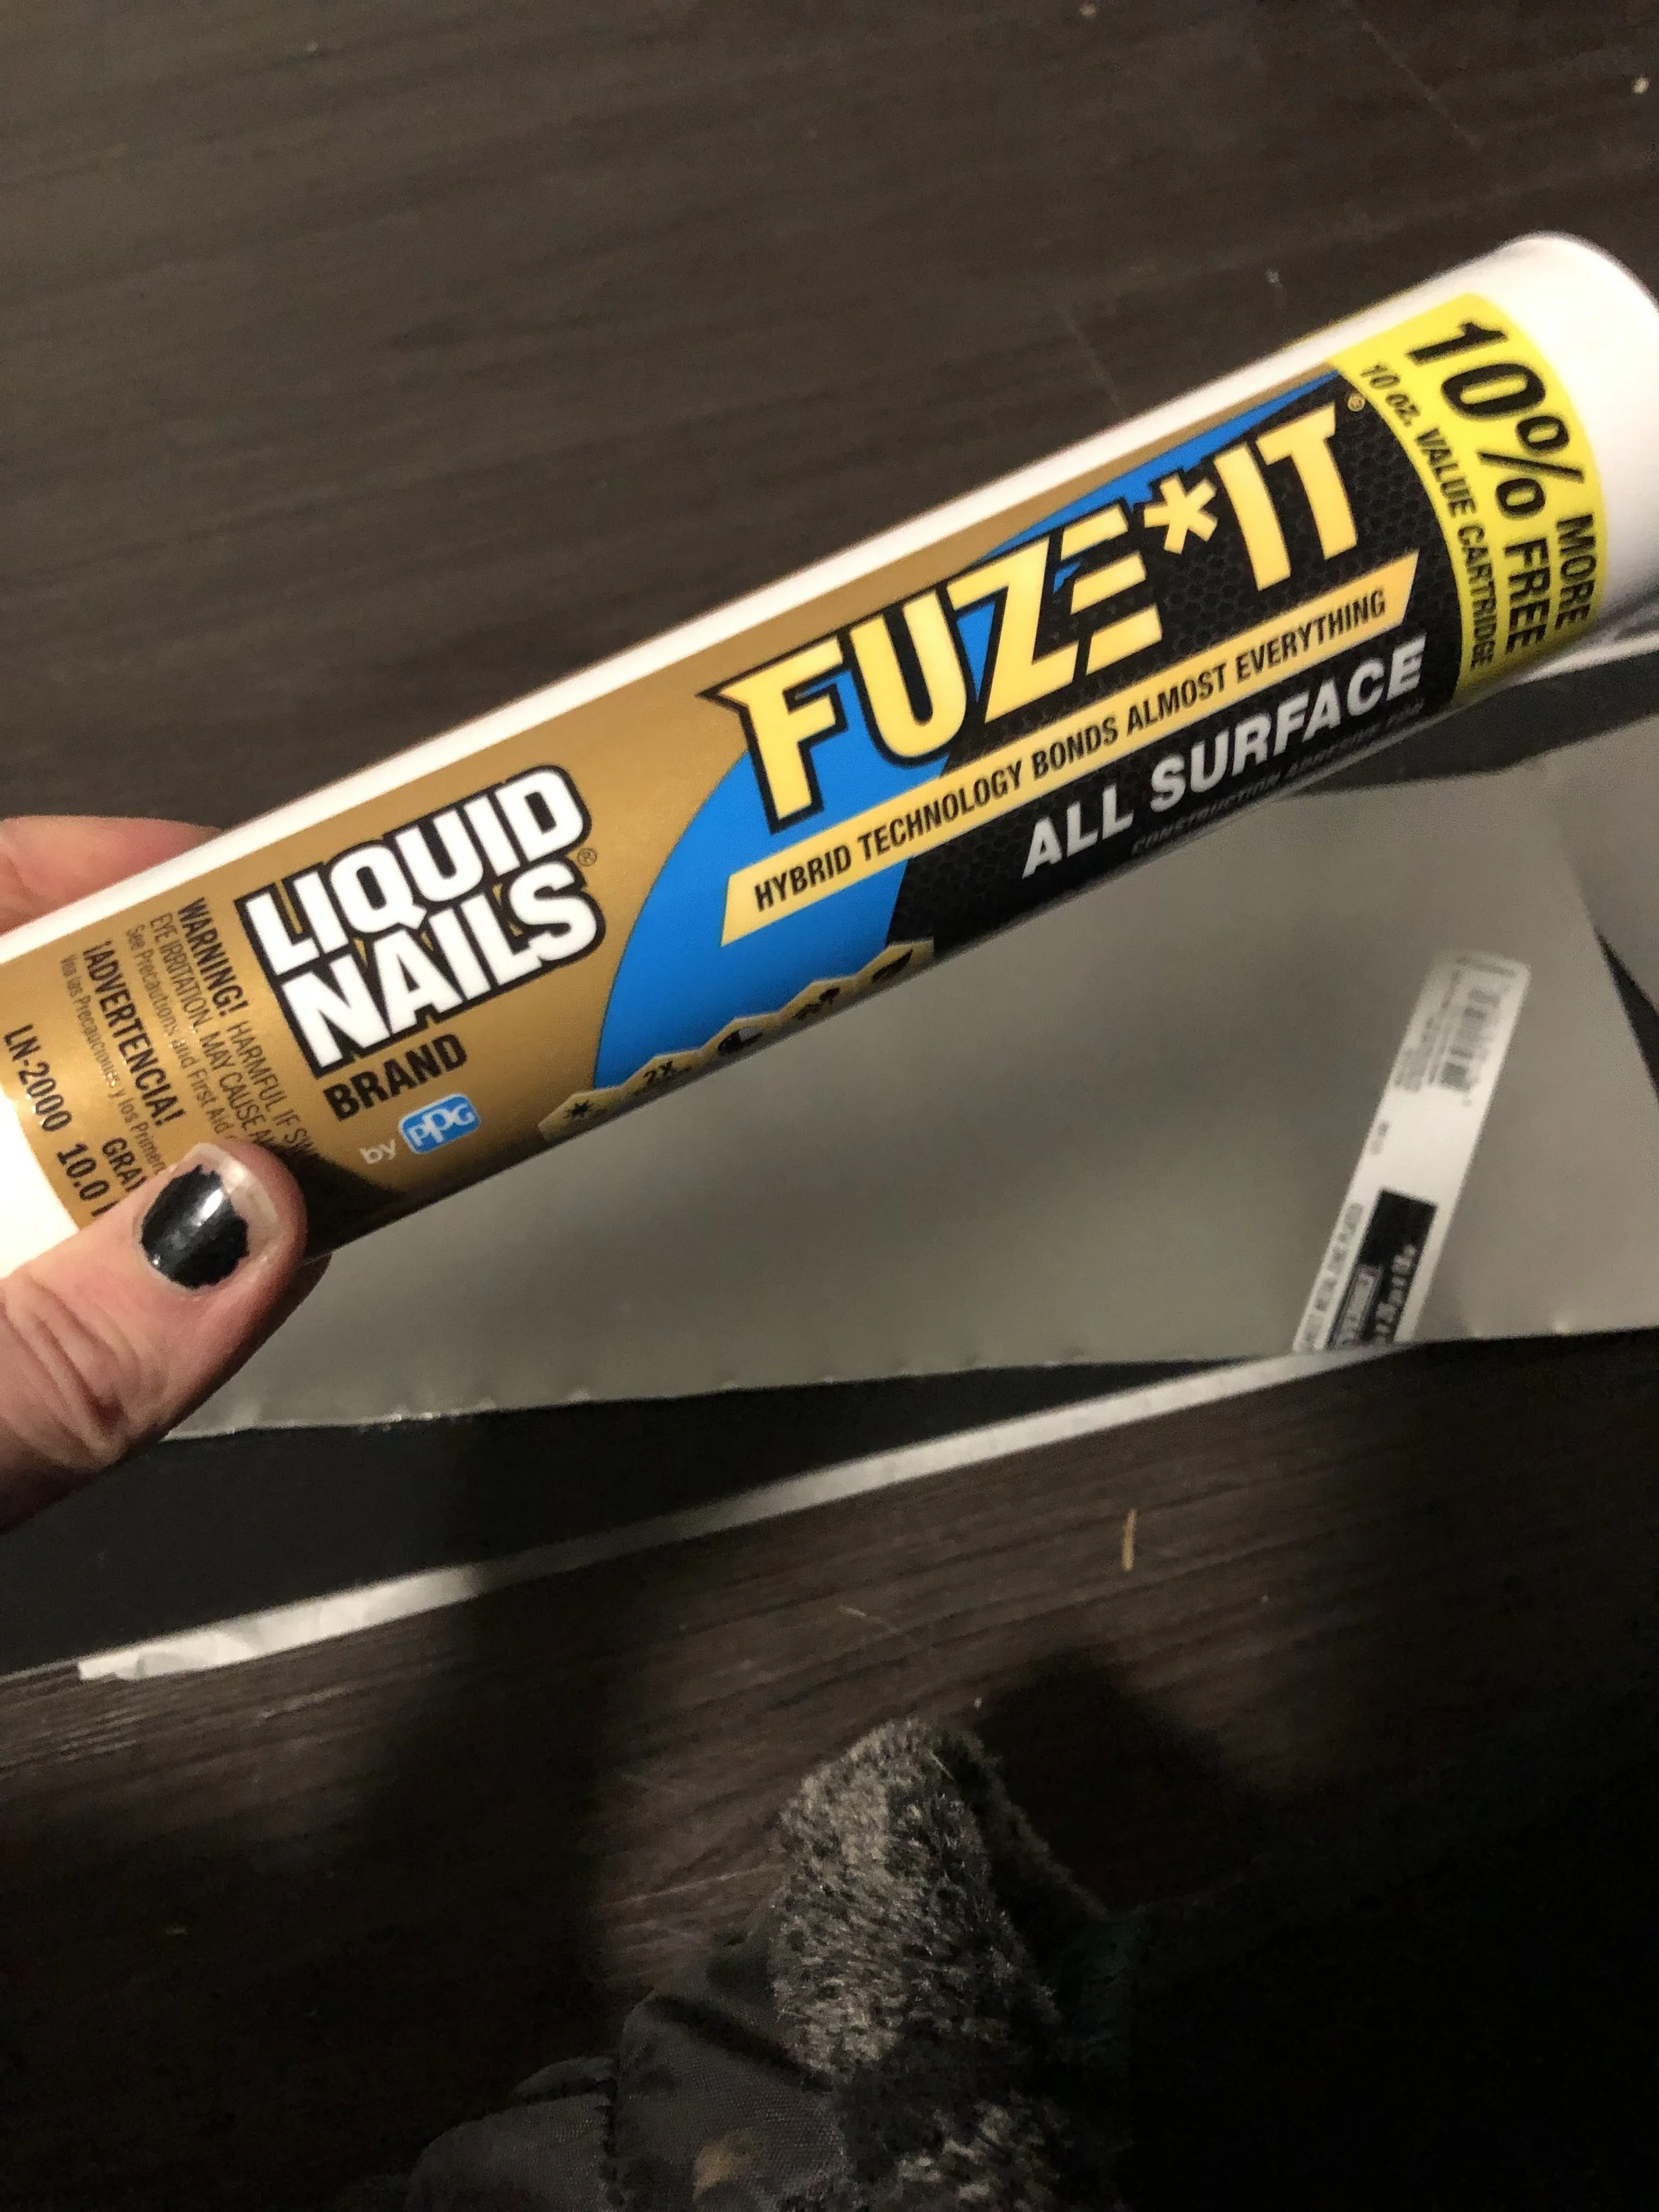
Luckily, we found a post from Mortons on the Move about this very same issue. They had the brilliant idea to add a metal sheet underneath the first row of planks to give it more support. Off to Home Depot we go! We purchased 26g Everbilt 12”x18” sheets and cut them in half. We then use Fuze It to attach the metal to new planks.
These repairs have held up really well for the past three months. We’ve had no issues with the slide pulling the floor up (knocking on wood now) and the overlapping row of planks still feels very sturdy with the metal underneath. One thing we did do was purchase a day bed (photo below) that goes over the vulnerable planks on the slide to further protect them from constant foot traffic.


